A Simple OOP Game Tutorial #5
WELCOME TO THE 4th INSTALLMENT OF ECS VS. OOP WEEKLY SERIES!
Before proceeding, if you have not read the previous post and previous part, please check those first, this post will wait for you. You will need the information and guide provided in the previous posts for this one.
Done? Good! You may now resume your quest!
UPDATES
Source code is now available here
DISCLAIMER
This post will not try to teach Lua coding or any programming logic. This is to focus primarily in OOP design and pattern.
If you want to learn basic programming and game development, let me know. I will make an in-depth guide about it for beginners if requested.
INTRODUCTION
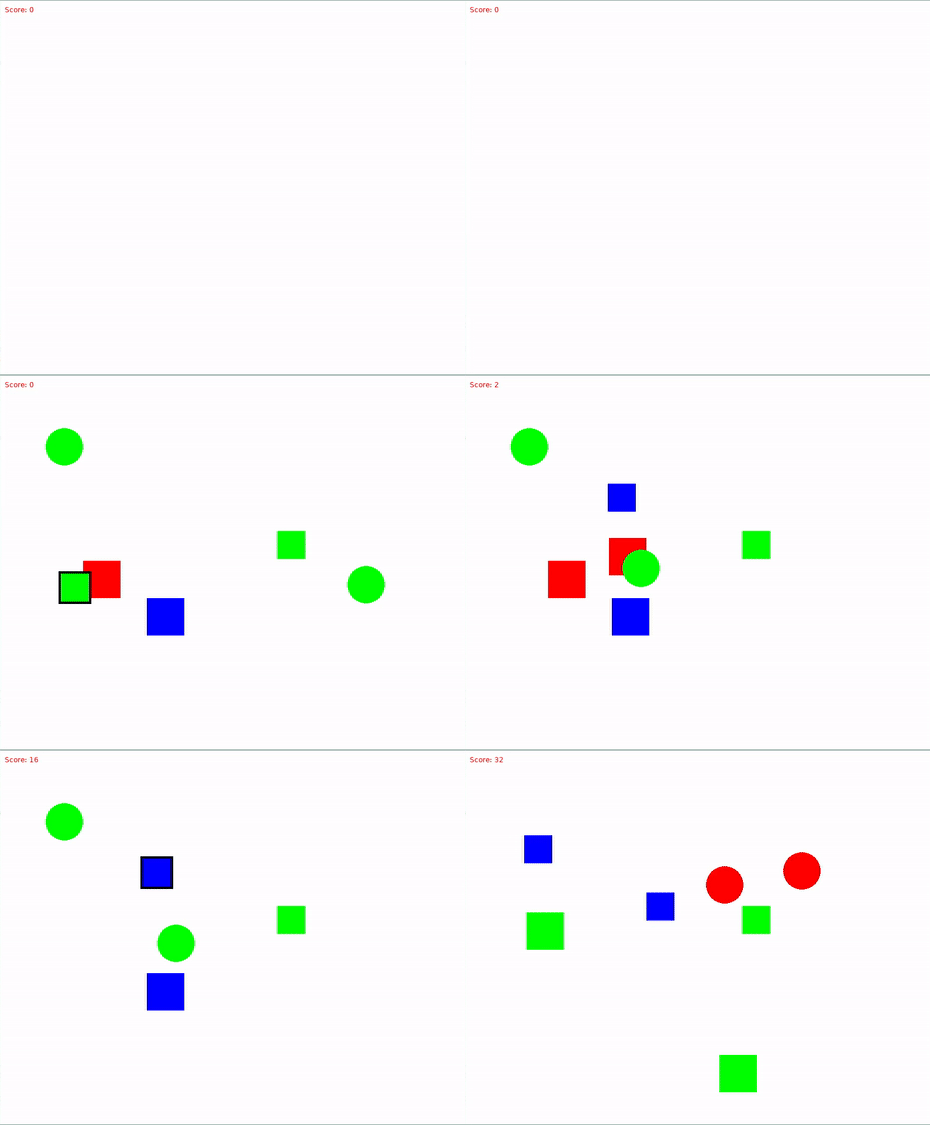
Last time we only made additions in the backend, so no changes in the visual/front end. Still, here is what we have so far:

Last time, we made a scene base class and other gamestates/screens subclasses. I know, the terms scene, screen, state can be confusing, indeed they are, but for me, and especially with this tutorial, they all refer to the same thing, well at least the usage that is.
If you want to refactor the naming convention to be consistent, let me know and I shall do that.
But before we proceed, let us first go and add the following to the classes/base/scene.lua:
function Scene:update(dt) end
function Scene:draw() end
function Scene:mousepressed(mx, my, mb) end
function Scene:keypressed(key) end
function Scene:get_id() return self.id end
They will kind of act like virtual methods.
There is a lot of thing we need to change with classes/title_screen.lua, so I suggest to completely erase every content of what we already have and paste the following instead:
local Scene = require("classes.base.scene")
local TitleScreen = Scene:extend()

local title = "Shape Clicker"
local str_play = "Press enter or space to play"
local str_quit = "Press escape to quit"
local font, font2
local window_width, window_height

function TitleScreen:new(manager)
	TitleScreen.super.new(self, "title_screen", manager)

	font = love.graphics.newFont(64)
	font2 = love.graphics.newFont(18)
	window_width, window_height = love.graphics.getDimensions()

	return self
end

function TitleScreen:draw()
	love.graphics.setColor(1, 0, 0, 1)
	love.graphics.setFont(font)

	love.graphics.print(title,
		window_width/2, window_height/2 - 32,
		0, 1, 1,
		font:getWidth(title)/2,
		font:getHeight(title)/2)

	love.graphics.setFont(font2)
	love.graphics.print(str_play,
		window_width/2, window_height/2 + 64,
		0, 1, 1,
		font2:getWidth(str_play)/2,
		font2:getHeight(str_play)/2)

	love.graphics.print(str_quit,
		window_width/2, window_height/2 + 96,
		0, 1, 1,
		font2:getWidth(str_quit)/2,
		font2:getHeight(str_quit)/2)
end

function TitleScreen:keypressed(key)
	if key == "enter" or key == "space" then
		local GameScreen = require("classes.game_screen")
		self.manager.switch(GameScreen)
	elseif key == "escape" then
		love.event.quit()
	end
end

return TitleScreen
Also, for all the subclasses of the scene, namely game_screen.lua. gameover_screen.lua, pause_screen.lua, title_screen.lua, make the following additions:
function XXXXXX:new(manager)
	--before the `end` keyword
	return self --add this
end
IMPLEMENTING GAMESTATE MANAGER
Now, to test the gamestates we have done, let us make a gamestate manager module. This manager module will be a singleton, meaning, we will not create any instance of it, this is kind of like static in C/C++ concepts.
Why do this? Because we do not need to make any instance of it. We only want one to use this as general as possible.
Now, there is a lot of gamestate manager library out there which are far better than what I am going to provide, what I am going to make is hacky as just fit for this tutorial.
My aim is not to teach the concept of gamestate management or how to properly do it, in my personal projects I have one that is complex and has a lot of features suitable for the kind of game I am making, abstracting it away from the project will be a hassle for now so for now, bear with this ugly gamestate manager I am going to show.
Create a file in the root of the project (not inside the classes/ folder) named gamestate_manager.lua and write the following:
local GamestateManager = {}

local states = {}
local current_state
local previous_state

function GamestateManager.init(state)
	current_state = state:new(GamestateManager)
	current_state:set_active(true)
	table.insert(states, current_state)
end

function GamestateManager.switch(next_state)
	previous_state = current_state
	current_state = next_state:new(GamestateManager)
	current_state:set_active(true)
	table.insert(states, current_state, 1)

	print("Switched from " .. previous_state:get_id() .. " to " .. current_state:get_id())
end

function GamestateManager.update(dt)
	for _, state in ipairs(states) do
		if state:get_active() then
			state:update(dt)
		end
	end
end

function GamestateManager.draw()
	for _, state in ipairs(states) do
		if state:get_active() then
			state:draw()
		end
	end
end

function GamestateManager.mousepressed(mx, my, mb)
	for _, state in ipairs(states) do
		if state:get_active() then
			state:mousepressed(mx, my, mb)
		end
	end
end

function GamestateManager.keypressed(key)
	for _, state in ipairs(states) do
		if state:get_active() then
			state:keypressed(key)
		end
	end
end

return GamestateManager
TESTING
To test that that manager is indeed working, rename the main.lua file into whatever you like, in my case I renamed it to main_temp.lua. After that, create another file called main.lua and put the following:
local GamestateManager = require("gamestate_manager")

function love.load()
	love.graphics.setBackgroundColor(1, 1, 1, 0.8)

	local title_screen = require("classes.title_screen")
	GamestateManager.init(title_screen)
end

function love.update(dt)
	GamestateManager.update(dt)
end

function love.draw()
	GamestateManager.draw()
end

function love.mousepressed(mx, my, mb)
	GamestateManager.mousepressed(mx, my, mb)
end

function love.keypressed(key)
	GamestateManager.keypressed(key)
end
And then run the game, you will only see the title of our game in the center of the screen. Sweet!
Now press enter or space and voila! We just switched to a new state! (see terminal/console for the printed output)
This is it for now! Again, pardon for the short post. Time and schedule is kinda tricky right now.
Next Week’s Post:
For the next post, we will continue to:
- implement more states
- implement the UI classes and subclasses
Stay tuned via RSS or follow me on Twitter